With an impressive name as always Autodesk introduces a new real time rendering engine. You can see all the features this new software has here:
http://www.autodesk.com/products/stingray/overview
There is also an improved workflow between Revit and 3ds Max.
Sales start at the end of August. Can't wait it to give it a try.
Εμφάνιση αναρτήσεων με ετικέτα 3ds max. Εμφάνιση όλων των αναρτήσεων
Εμφάνιση αναρτήσεων με ετικέτα 3ds max. Εμφάνιση όλων των αναρτήσεων
Δευτέρα 10 Αυγούστου 2015


Δευτέρα 29 Ιουνίου 2015



Τρίτη 26 Μαΐου 2015
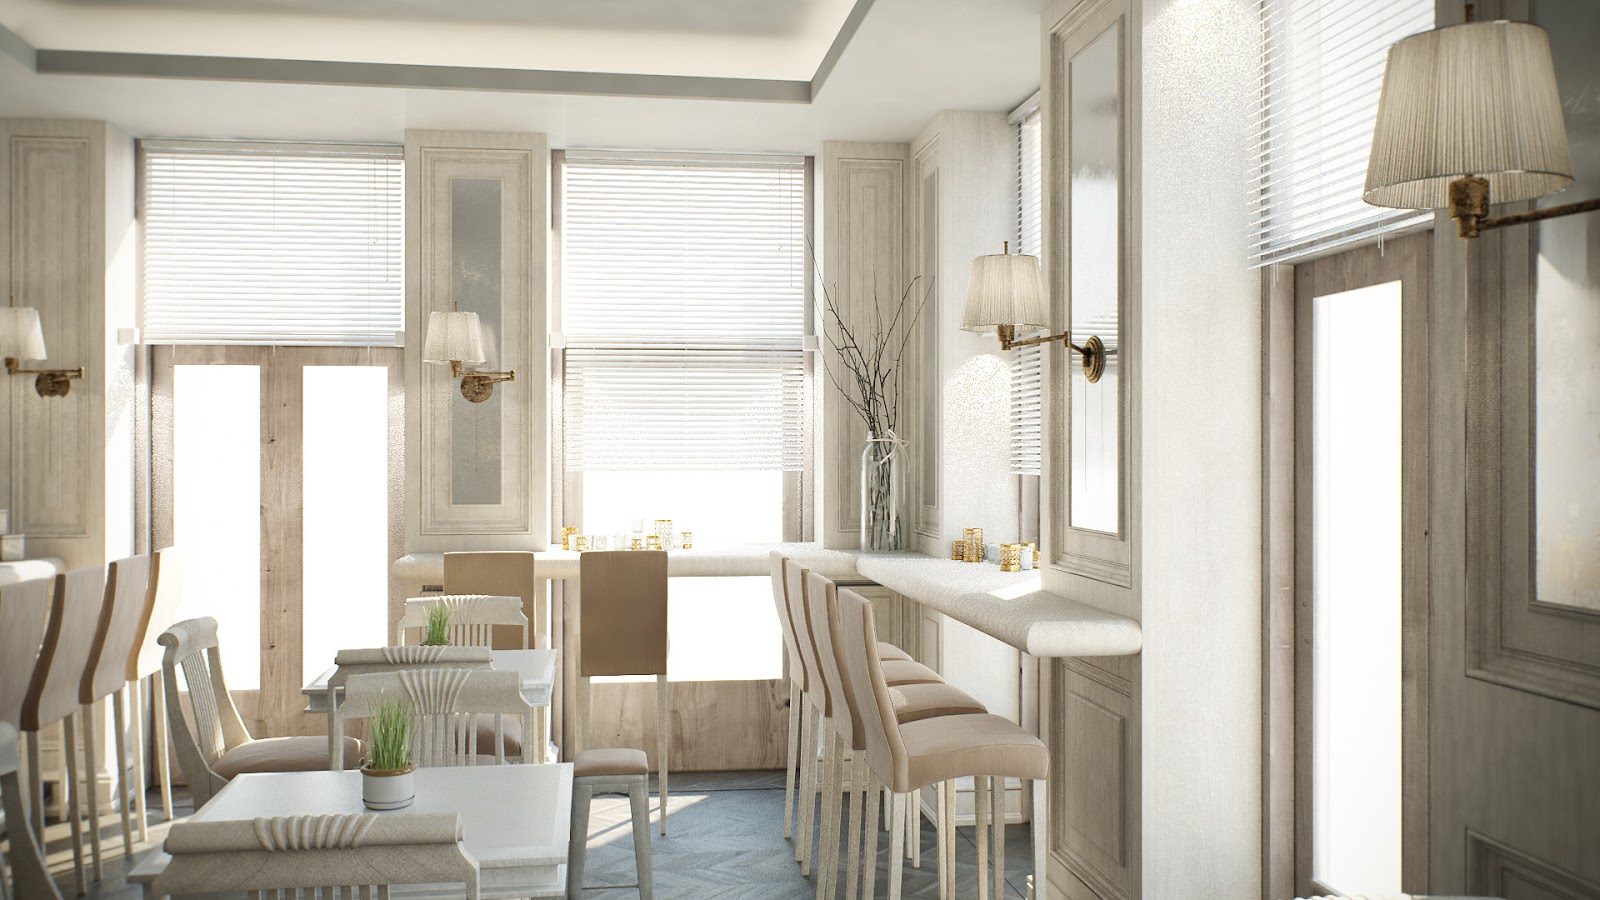
Olympic Equestrian Venue
Usual workflow, modelled in Revit, clash detection in Navisworks and rendered in 3ds Max.



Τετάρτη 11 Μαρτίου 2015
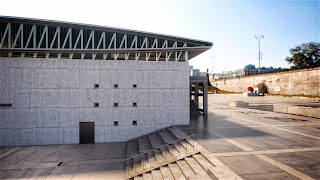
Bioclimatic Housing
Two bioclimatic family houses in the Attica region with zero energy consumption. Autodesk Energy and Lighting Analysis software was used during the study.
Δύο ανεξάρτητες δυόροφες βιοκλιματικές κατοικίες με πλήρη ενεργειακή αυτονομία. Για την μελέτη χρησιμοποιήθηκε το λογισμικό Energy και Lighting Analysis της Autodesk.
.jpg)
.jpg)
.jpg)
.jpg)
Δύο ανεξάρτητες δυόροφες βιοκλιματικές κατοικίες με πλήρη ενεργειακή αυτονομία. Για την μελέτη χρησιμοποιήθηκε το λογισμικό Energy και Lighting Analysis της Autodesk.
Δευτέρα 9 Φεβρουαρίου 2015
New JUMBO Supermarket in Tripoli Arcadia
This is the new Jumbo retail store outside Tripoli Arcadia. All disciplines were modeled in Revit, clash detection in Navisworks, renderings in 3DS max with no post production.

.jpg)
.jpg)


Παρασκευή 30 Ιανουαρίου 2015
.jpg)
.jpg)
.jpg)
.jpg)
.jpg)
.jpg)
.jpg)
.jpg)
Δευτέρα 18 Αυγούστου 2014
more 3ds max scripts
Κυκλοφόρησαν δύο νέα scripts για το 3ds max. Το debrismaker και το pipedream. Και τα δύο είναι δωρεάν και βρίσκονται στο πρώτο στάδιο εξέλιξης οπότε οι γεωμετρίες που παράγουν δεν είναι πάντα απόλυτα σωστές και καλό θα είναι να ελέγχονται πριν την χρήση.
Two new 3ds max scripts are out, debrismaker and pipedream. Both are on version 1.0 so the produced geometry is not 100% perfect and should be checked before using. For the time being both are free to download and use.
Two new 3ds max scripts are out, debrismaker and pipedream. Both are on version 1.0 so the produced geometry is not 100% perfect and should be checked before using. For the time being both are free to download and use.
Δευτέρα 23 Ιουνίου 2014
Lele's Scripts
Ο Emanuele Lecchi έχει φτιάξει κάποια πολύ ενδιαφέροντα scripts για το 3ds Max και τον V-Ray. Αυτό που έχουμε δοκιμάσει με εξαιρετικό αποτέλεσμα είναι η μετατροπή της κανονικής κάμερας του 3ds Max ή μιας προοπτικής άποψης σε V-Ray physical camera. Το script αυτό είναι πολύ χρήσιμο στην περίπτωση που χρησιμοποιηθούν τα Camera match utilities του Max για την προσαρμογή μιας εικόνας στο viewport, μετά το perspective match τρέχοντας το script δημιουργείται αυτόματα μια V-Ray physical camera στην σωστή θέση και με τις σωστές ρυθμίσεις.
Κατέβασμα από το scriptspot:
http://www.scriptspot.com/3ds-max/scripts/leles-vray-tools
Mr. Emanuele Lecchi has created some very interesting scripts for 3ds Max and V-Ray. What we have tried to excellent effect is the conversion of 3ds Max camera and/or perspective view to V-Ray physical camera. This script is very useful if you use the Camera match utilities of Max for adjusting an image in the viewport, when perspective match is done running the script automatically creates a V-Ray physical camera at the right position along with the correct settings.
Download from scriptspot:
http://www.scriptspot.com/3ds-max/scripts/leles-vray-tools
Κατέβασμα από το scriptspot:
http://www.scriptspot.com/3ds-max/scripts/leles-vray-tools
Mr. Emanuele Lecchi has created some very interesting scripts for 3ds Max and V-Ray. What we have tried to excellent effect is the conversion of 3ds Max camera and/or perspective view to V-Ray physical camera. This script is very useful if you use the Camera match utilities of Max for adjusting an image in the viewport, when perspective match is done running the script automatically creates a V-Ray physical camera at the right position along with the correct settings.
Download from scriptspot:
http://www.scriptspot.com/3ds-max/scripts/leles-vray-tools
Κυριακή 23 Φεβρουαρίου 2014
V-Ray 3.0 is out
Κυκλοφόρησε η τρίτη έκδοση του V-Ray renderer με κύριο χαρακτηριστικό στο θέμα της βελτιωμένης ταχύτητας την κατ΄επιλογή χρήση του Embree raytracer. Για να ενεργοποιήσει κάποιος την χρήση του Embree πρέπει να πάει στο render setup-settings-advanced-use Embree. Στις δοκιμές που έκανα εγώ σε διάφορες σκηνές είδα βελτίωση γύρω στο 10% χωρίς καμία πτώση στην ποιότητα της εικόνας. Για να λειτουργήσει ο Embree απαιτούνται επεξεργαστές intel αφού εξάλλου η intel τον εξελίσσει.

Τhe third V-Ray renderer version has released with improved speed by the use of Embree raytracer. To enable the Embree raycaster one has to go to render setup-settings-advanced-use Embree checkbox. During the testing i have done in various scenes i saw improvement of around 10% with no drop in image quality. Intel processors are required for this intel product.
Τhe third V-Ray renderer version has released with improved speed by the use of Embree raytracer. To enable the Embree raycaster one has to go to render setup-settings-advanced-use Embree checkbox. During the testing i have done in various scenes i saw improvement of around 10% with no drop in image quality. Intel processors are required for this intel product.
Σάββατο 4 Ιανουαρίου 2014
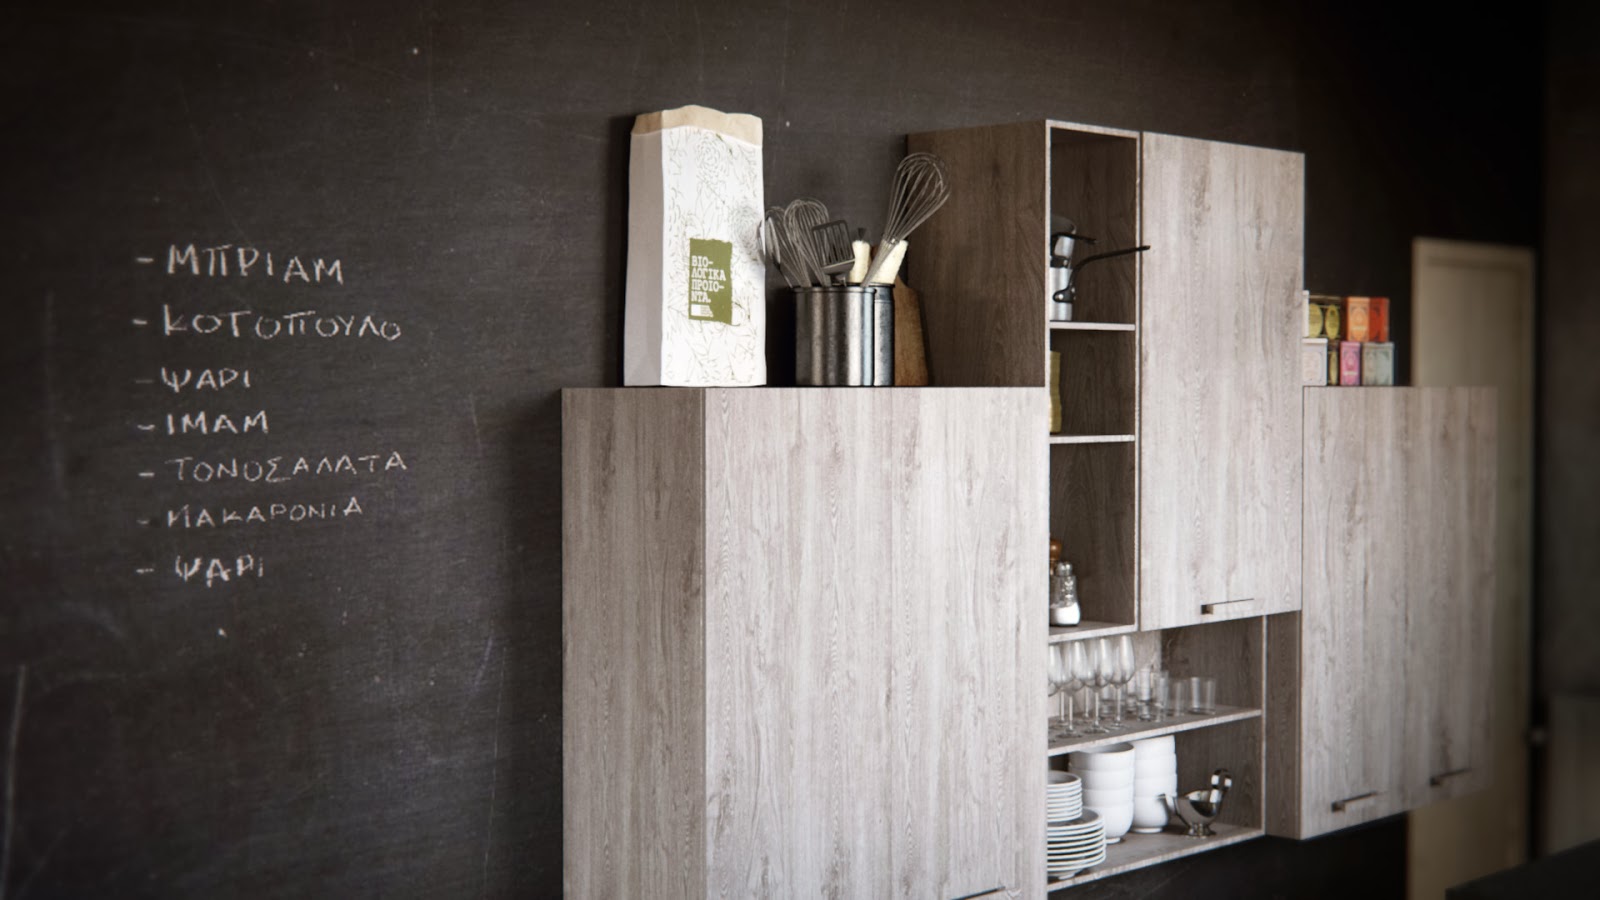
Ανακαίνιση κατοικίας, modelling rendering
Ανακαίνιση κατοικίας δύο ατόμων στον Βόλο από την διακοσμήτρια Μαρία Μαυρογιάννη. Vintage-industrial look concept, συνδυασμός κλασσικού και σύγχρονου βιομηχανικού στυλ με χρήση παλαιομένων επίπλων και ρετρό διακοσμητικών στοιχείων.
Η μοντελοποίηση των οργανικών στοιχείων έγινε στο max με τον cloth mod της nvidia και στο clo3d.


Η μοντελοποίηση των οργανικών στοιχείων έγινε στο max με τον cloth mod της nvidia και στο clo3d.




Δευτέρα 28 Οκτωβρίου 2013
Speedtree
Ένα νέο πρόγραμμα δημιουργίας βλάστησης είναι το Speedtree το οποίο μπορείτε να κατεβάσετε για λίγες μέρες για δοκιμή. Είναι node based παραμετρικό και πολύ εύκολο στην χρήση. Επίσης έχει την δυνατότητα για την προσθήκη ανέμου με πολύ ρεαλιστικό αποτέλεσμα. Στο youtube μπορεί να βρει κανεις πολλά μαθήματα χρήσης του προγράμματος.

Speedtree is a new program for creating vegetation which you can download for a few days evaluation period. Is node based configurable and very easy to use. It also gives the ability to add wind and get an extra realistic result. On youtube you can find many courses of the program.

Speedtree is a new program for creating vegetation which you can download for a few days evaluation period. Is node based configurable and very easy to use. It also gives the ability to add wind and get an extra realistic result. On youtube you can find many courses of the program.
Σάββατο 27 Ιουλίου 2013
Δημιουργία βίντεο στο 3ds max με χρήση της κάρτας γραφικών. - Create a 3ds max animation through nitrous driver
Η δημιουργία ενός κανονικού video στο 3ds max μέσω κάποιου προγράμματος δημιουργίας φωτορεαλισμού είναι μια επίπονη και χρονοβόρα διαδικασία. Χρησιμοποιώντας όμως τον καινούριο driver nitrous της Autodesk σε συνδυασμό με το εργαλείο παραγωγής video από το viewport, μπορούμε να έχουμε σχετικά γρήγορα ένα όμορφο εικαστικά αποτέλεσμα.
Για να χρησιμoποιεί το 3ds max τον nitrous πηγαίνουμε customize-preferences-viewports-choose driver-nitrous. Πιθανότατα θα μας ζητήσει επανεκκίνηση του προγράμματος.

Στο viewport έχουμε πλέον την δυνατότητα stylized και illuminate with scene lights. Μπορούμε να επιλέξουμε μία από τις επιλογές stylized π.χ. color pencil και να ρυθμίσουμε τα χρώματα και τα φώτα της σκηνής μας ώστε να έχουμε ένα ικανοποιητικό αποτέλεσμα.

Unfortunately the video that will be produced will have serious flickering and antialising problems on the other hand it is created relatively quickly by the graphics card, which means that somone can even render simultaneously another file that will draw resources from the cpu. The following video is 500 frames long and took about two hours on my computer.
Για να χρησιμoποιεί το 3ds max τον nitrous πηγαίνουμε customize-preferences-viewports-choose driver-nitrous. Πιθανότατα θα μας ζητήσει επανεκκίνηση του προγράμματος.

Στο viewport έχουμε πλέον την δυνατότητα stylized και illuminate with scene lights. Μπορούμε να επιλέξουμε μία από τις επιλογές stylized π.χ. color pencil και να ρυθμίσουμε τα χρώματα και τα φώτα της σκηνής μας ώστε να έχουμε ένα ικανοποιητικό αποτέλεσμα.

Αφού έχουμε ετοιμάσει τα frames του βίντεο πηγαίνουμε tools-views - grab viewport-create animated sequence file και στο rendering level επιλέγουμε το στυλ που θέλουμε, π.χ. color pencil και create. Το εργαλείο αυτό είχε δημιουργηθεί αρχικά για μια πρόχειρη επισκόπηση του τελικού αποτελέσματος όμως με την χρήση του nitrous και του stylized το πρόχειρο γίνεται αξιοπρεπές.
Δυστυχώς το βίντεο που θα παραχθεί θα έχει σοβαρά προβλήματα flickering και antialising αλλά δημιουργείται σχετικά γρήγορα μέσω της κάρτας γραφικών που σημαίνει οτι μπορεί κανείς ταυτοχρόνως ακόμα και rendering να κάνει σε ένα δεύτερο αρχείο το οποίο θα τραβάει πόρους από την cpu. Το παρακάτω βίντεο είναι 500 καρέ και χρειάστηκε περίπου δύο ώρες στον υπολογιστή μου.
Craeting a standard animation in 3ds max through a rendering algorithm is tedious and time consuming process. By using the new Autodesk nitrous driver combined with the grab viewport tool, we can have relatively quickly a beautiful visual result.
In order to use nitrous in 3ds max we go to customize-preferences-viewports-choose driver-nitrous. It will ask for a program restart.
In the viewport we now have the features stylized and illuminate with scene lights. We can choose one of the stylized options, like the color pencil one, and adjust the colors and lights of our scene to have a satisfactory result.
Once we have prepared the animation frames we go to tools-views - grab viewport-create animated sequence file and to the rendering level menu we choose the style we like, for example color pencil. This tool was originally created for a rough preview of the final result but with the use of nitrous and stylized feature rough becomes decent.
Unfortunately the video that will be produced will have serious flickering and antialising problems on the other hand it is created relatively quickly by the graphics card, which means that somone can even render simultaneously another file that will draw resources from the cpu. The following video is 500 frames long and took about two hours on my computer.
Κυριακή 12 Μαΐου 2013
Βασικές ρυθμίσεις φωτισμού με High dynamic range εικόνα. - HDR image based lighting basic settings
Ο φωτισμός μιας σκηνής που βασίζεται σε μια εικόνα Hdri προσφέρει ρεαλιστικές εναλλαγές φωτισμού, ρεαλιστικές αντανακλάσεις και έτοιμο περιβάλλον με μοναδικό μειονέκτημα την εμφάνιση θορύβου.
Όταν φωτίζουμε μια σκηνή με εικόνα Hdri και δεν θέλουμε να χρησιμοποιήσουμε κάποιο άλλο είδος φωτισμού πρέπει να προσέξουμε δύο βασικές ρυθμίσεις που θα επηρεάσουν το τελικό αποτέλεσμα. Το Overall multiplier που ελέγχει την φωτεινότητα της εικόνας και της σκηνής και το Gamma της εικόνας που ελέγχει την καμπύλη gamma προκαλώντας αλλαγή στην αντίθεση της εικόνας και στην παραγόμενη σκίαση.

Παρακάτω βλέπουμε κάποιες δοκιμές και τις αντίστοιχες τιμές τους.

The High dynamic range image based lighting of a scene offers realistic light alternations, realistic reflections and automatic background environment. The only downside is the appearance of noise.
When we lit the scene with an Hdri and we do not want to use another mean of lighting then we have to pay attention to two basic settings that will effect the final result. The Overall multiplier that controls the brightness of the image and scene and the Gamma of the image that controls the gamma curve causing harsh or soft shadows and contrast changes.
Below we see some IBL tests done and their respective values.
Όταν φωτίζουμε μια σκηνή με εικόνα Hdri και δεν θέλουμε να χρησιμοποιήσουμε κάποιο άλλο είδος φωτισμού πρέπει να προσέξουμε δύο βασικές ρυθμίσεις που θα επηρεάσουν το τελικό αποτέλεσμα. Το Overall multiplier που ελέγχει την φωτεινότητα της εικόνας και της σκηνής και το Gamma της εικόνας που ελέγχει την καμπύλη gamma προκαλώντας αλλαγή στην αντίθεση της εικόνας και στην παραγόμενη σκίαση.

Παρακάτω βλέπουμε κάποιες δοκιμές και τις αντίστοιχες τιμές τους.

The High dynamic range image based lighting of a scene offers realistic light alternations, realistic reflections and automatic background environment. The only downside is the appearance of noise.
When we lit the scene with an Hdri and we do not want to use another mean of lighting then we have to pay attention to two basic settings that will effect the final result. The Overall multiplier that controls the brightness of the image and scene and the Gamma of the image that controls the gamma curve causing harsh or soft shadows and contrast changes.
Below we see some IBL tests done and their respective values.
Εγγραφή σε:
Αναρτήσεις (Atom)